The equipment of the gladiators was based, among other things, on the equipment of the peoples subjugated by the Roman Empire, such as the Thracian and the Retiarius, or their own troops, such as the Provocator. This is most clearly symbolized by the respective helmets, but also by the equipment. The scutum is the shield of the Roman legionaries and is used by three gladiators, the Provocator, Murmillo and Secutor. While the Provocator’s scutum is slightly smaller, the shields of the Murmillo and Secutor are very similar to those of the legionnaires.
While researching construction methods, I came across instructions for building a scutum by Ortwin vom Schildberg (Scutum consutruction instructions).
According to these instructions I built my shield press and my scutum. There are slight variations to the instructions due to my own ideas and thoughts before and during construction.
I opted for 3 layers of 4mm beech wood (110×84 cm) to achieve more stability and thought the 200 grams weight difference per m² to poplar negligible. After thinking about it for a moment, that’s 600g more for the sign. I should have thought about it before and should have taken only one layer of beech for the front. In the shield are also about 2 kg of wood glue, plenty of nails, almost 2 m² of linen, 0.3 m² of leather, over 8 m of leather thread, six carriage bolts and the Umbro. Summed up there are about 10.5 kg live weight.
For use in our battles, that’s a lot, which means I’ll definitely have to build another one that’s „battle ready“.
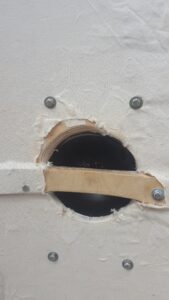
A scutum of my own was needed, so research was the order of the day. As already written, the scutum of the Secutor corresponds approximately to those of the Roman legionaries. I therefor found the instructions of Ortwin suitable. I decided to use a 10 cm shorter version to make the shield not too big and to save some weight. The shield press has a bit more formers to allow different sizes of shields. I tried to make the stop easier with angles. But I found out that there are quite some forces acting there and it should be built very stable. Gluing and clamping was relatively easy. Let it dry for a week, done. Then water the battens and clamp them. When the battens are dry, glue and nail them. Saw out the handle and, most importantly, sand it down properly. Both the rounding of the handle and the top of the rounding, so that it does not press against the hand.
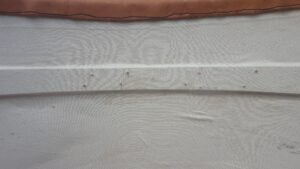
Place the fabric on the scutum and brush with glue. Important is the smoothing, which works very well on the outside over the curve. Inside the whole thing is a bit more difficult, so work with care 😉
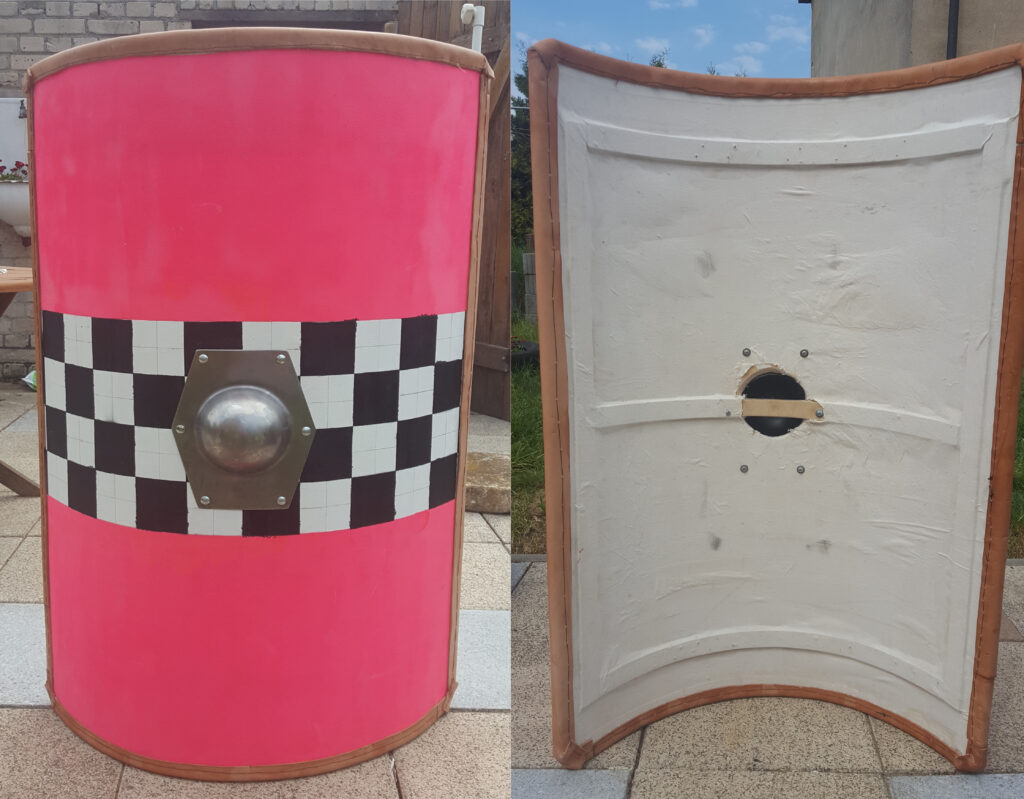
Now comes the painting. I still need to do a bit of touch up there, but it’s OK for training purposes.
Cut the leather into 8 cm strips. Water the leather and fix it with clamps at the scutum edge and let it dry. I then decided to drill holes and sew on the leather edge. Saves weight and reduces injury from sharp objects like nail heads that were hit by a gladius.
Attaching the Umbro is not quite as easy. I ordered my Umbro from outfit4Events. It’s pre-bent but nowhere as much as the scutum. I marked the holes and drilled them slightly larger than screw thickness. The holes of the Umbro had to be drilled out because the carriage bolts would not fit otherwise. carriage bolts have a flat round head and look like nail heads, so I chose them for fastening. Tighten screws through umbro and scutum and evenly all around until all sides are on. For fixing I used self-locking nuts to prevent loosening by hitting the umbro and scutum. The protruding screws were sawn off and then we are ready!
Conclusion
The scutum is very heavy, which wears out the arm quickyl and makes some actions impossible, such as the shield kick with the lower edge in the direction of the opponent’s helmet. In return, there is more stability and force with the simple shield kick. Although I took off the rounding on Ursu’s scutum, my scutum is significantly more rounded. This also changes the handling considerably.
So, for the next scutum, i will use just two layers of wood (1x poplar, 1x beech) and probably three cloth panels (one between the wood panels for extra reinforcement). Sanding out the handle recess more before painting and mounting the umbro should also be better as well as moving the „handle“ further inwards. Think about what you can take instead of the screws, so it does not loosen.
Stay tuned for scutum 2.0